Wednesday 28 November 2012

Undercoating almost complete

And so the most frustrating part of the project continues. Painting.

When I first had the 'dry fit', putting the modules together to see if they fit, they did. Oh, they fit well - to within a fraction of a millimetre.
I then needed to undercoat the thing, and I decided to do it in modules (i.e. disassembled) so I could get at the more fiddly areas. Well, that was a mistake.
When I tried to reassemble it, it didn't fit as well as I would have liked. I had to sand and scrape away layers of paint and MDF to get some things in, like this


It worked in the end, but I should have just assembled it fully, and then painted it.

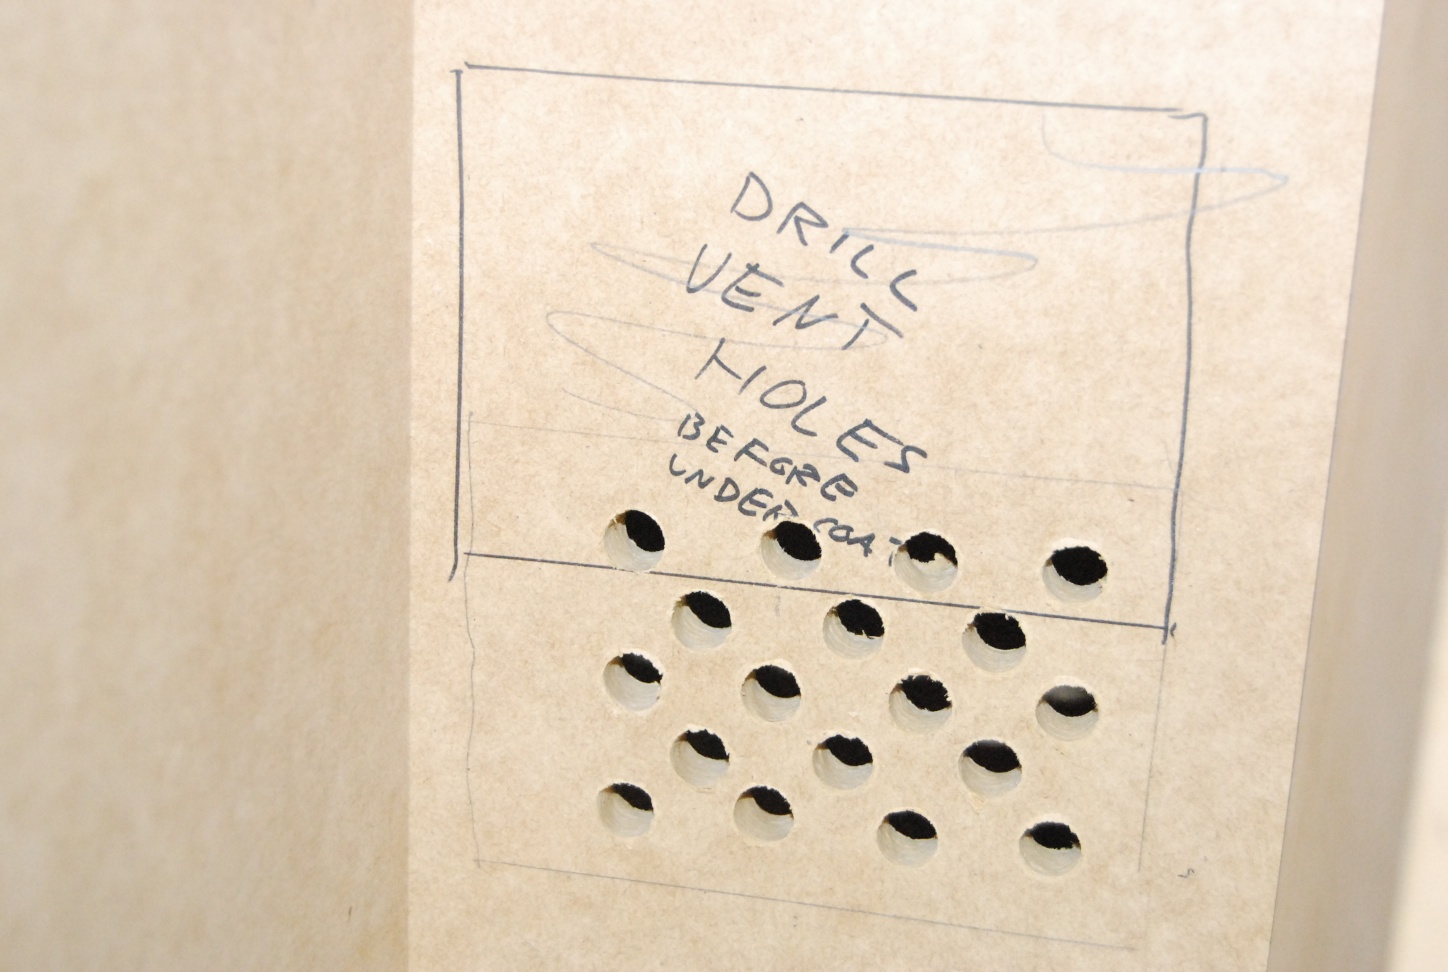
Anyway, other things were happening too, such as preparing to drill the air-out vent hole

Old cheap russian gas mask + HEPA filter = win

This is one of the two fans I'm going to use.

And the door! It works!

This is part of the baffle for the air-out vent

With the air-out vent (last two photos) the bit on the table is put in the thing above the door (the drying cabinet, where film hangs up to dry in the airstream). However, paint has made it a tight fit, meaning that it's almost certainly a one-installation job, with no ability to remove and fix it. That means that I'm going to need to undercoat it, and then paint it black where it is now, then install it.

Also, I haven't got a photo of it, but the air in module has an issue: It's stuck. I undercoated it and screwed it in place, however the undercoat is a bit sticky. Thus, its stuck and wont come down, which means I'm going to have to deal with two issues: 1. Painting the inside black to minimise reflections of light; and 2. Putting the fan inside it.

For 1: Solved. Because it has airflow through it, and because its undercoated, I can just spray black spraypaint through it, and the whole thing should end up black on the inside.

For 2: Solved. Instead of having the fan on the inside, it's going to be mounted on the outside, with the air HEPA filter on top of the fan - it's a fan sandwich. I've played around with them, and it will work. It might look a bit odd, though; but I'll paint it black on the outside so it looks less conspicuous. I'm actually thinking of painting the whole thing black on it's outside, so it looks a bit more subtle. If possible. It's not exactly going to look pretty on the outside, I've recently realised (especially when the dark cloth thing folds up as the door closes), so why not go with the flow?

More to come soon. It's going to be complete within several weeks.

Tuesday 13 November 2012

Painting

After the dry-fit, I needed to disassemble the modules in order to paint them.
It's pretty slow, and I'm strongly regretting using a brush. Now I have somewhat annoying brushstrokes on the desk; but it's unlikely that the desk will be often clean enough to 'appreciate' it. 


This is the air-in module. It's attached to the top corner of the darkroom so that three walls come up against it and provide a light-tight seal. The panel things are so that air can get through, but light cant. It's currently smothered in undercoat.

This is at the base of the drying cabinet, taken from what will become the inside. There's going to be an air filter of the size of the box on the other side, and the holes were drilled to let this filtered air through; sucked up by the air-out module.

Poirot and the mystery of the brushstroked desk? 

Here, we have the first door attached and working! It was so easy, simply lining up the hinge and screwing it in while on the floor. 

The door working with the negative shadow (?) of the light coming through the air-out vent hole

Saturday 3 November 2012

Progress

Now the left under-desk thing is done too:


Here it is with the top on. The top is made from two pieces of MDF, so that there'd be a hole for the film to hang through in the drying cabinet.


Designing the drying cabinet (and making sure it fit) was one of the more difficult things about this build, and would have almost been impossible without being able to design it with a computer.
The black rectangle down the bottom is where holes and a HEPA air filter are going, so filtered dust-free airflow can travel up the cabinet to dry the films faster. Conveniently, this is also works as an air-circulation thing for the darkroom in general; with another HEPA filter over a fan for air intake in the top right corner of the shell, and this as the air outlet, which is then sucked out by another fan at the top of the cabinet.


Here I'm working out the ideal shelf heights. I'm planning to store chemicals in used wine bottles such as this, and since the height of the shelves is not critical in regards to the computer design and MDF boards, I'm adjusting it for this.


The set up as it currently stands

Friday 2 November 2012

Contruction begins

The first thing I did was to build the 'outer shell' of the cupboard. It's the heaviest section, taking all of the huge, heavy panels (expect the doors at this stage). That was pretty easy.
If I ever need to disassemble the darkroom, this shell is not coming apart. Glued, and then predrilled-and-screwed it's very solid.

After a while, I made a second section: the shelf thing under the desk on the right hand side. Perhaps one day I'll make it into the drawer unit it was designed to be; but I thought having drawers wasn't essential at this point. Here, I've thrown the bench panel on top just for fun, and put both in the shell:

ITS LOOKING SOO GOOOD!
At this point, I'm starting to realise that it actually might work out.